The introduction of the claustra in our homes has completely changed our view of the wooden cleats. Long confined to a secondary role (wedges for shelves, supports between boards), they have become essential in decoration, in particular thanks to DIY and other inspired crafts. With a bit of imagination, the cleats become a graphic bench that increases the dining room’s capacity tenfold or dresses the headboard with a resolutely slow touch. They remain helpful for creating an openwork (and inexpensive) partition between two living spaces. Sold raw or planed, and more or less thick depending on the model, these wooden slats lend themselves to many experiments. For example, they bring relief to interior doors that usually lack style—demonstration in 14 proposals that it is possible to reproduce at home with a few cleats.
The cleats, traditionally used in carpentry or for small DIY jobs, also enhance the interior with an unexpected decorative touch. Easy to handle, they lend themselves to many DIYs to model furniture or a little more advanced layouts. For example, a few wooden slats are enough to design a graphic partition in the middle of a room. The cleats also propose revisiting our interiors’ flat surfaces (cupboard door, wall) with a completely homemade modern facing. Especially since a simple stain or a more distinct coat of paint makes it possible to personalize them. It is also possible to keep the raw aspect of the wood, to breathe a construction site spirit into the living spaces. Only a few basics in cutting and drilling are necessary to exploit these wooden elements’ potential fully. Some do not hesitate to revisit them in formwork where the radiator hides, while others imagine a coffee table with a modular profile thanks to the different sizes of slats. A plurality certainly explains why wooden cleats are so popular with DIY enthusiasts.
1- Raising the profile of a door with battens
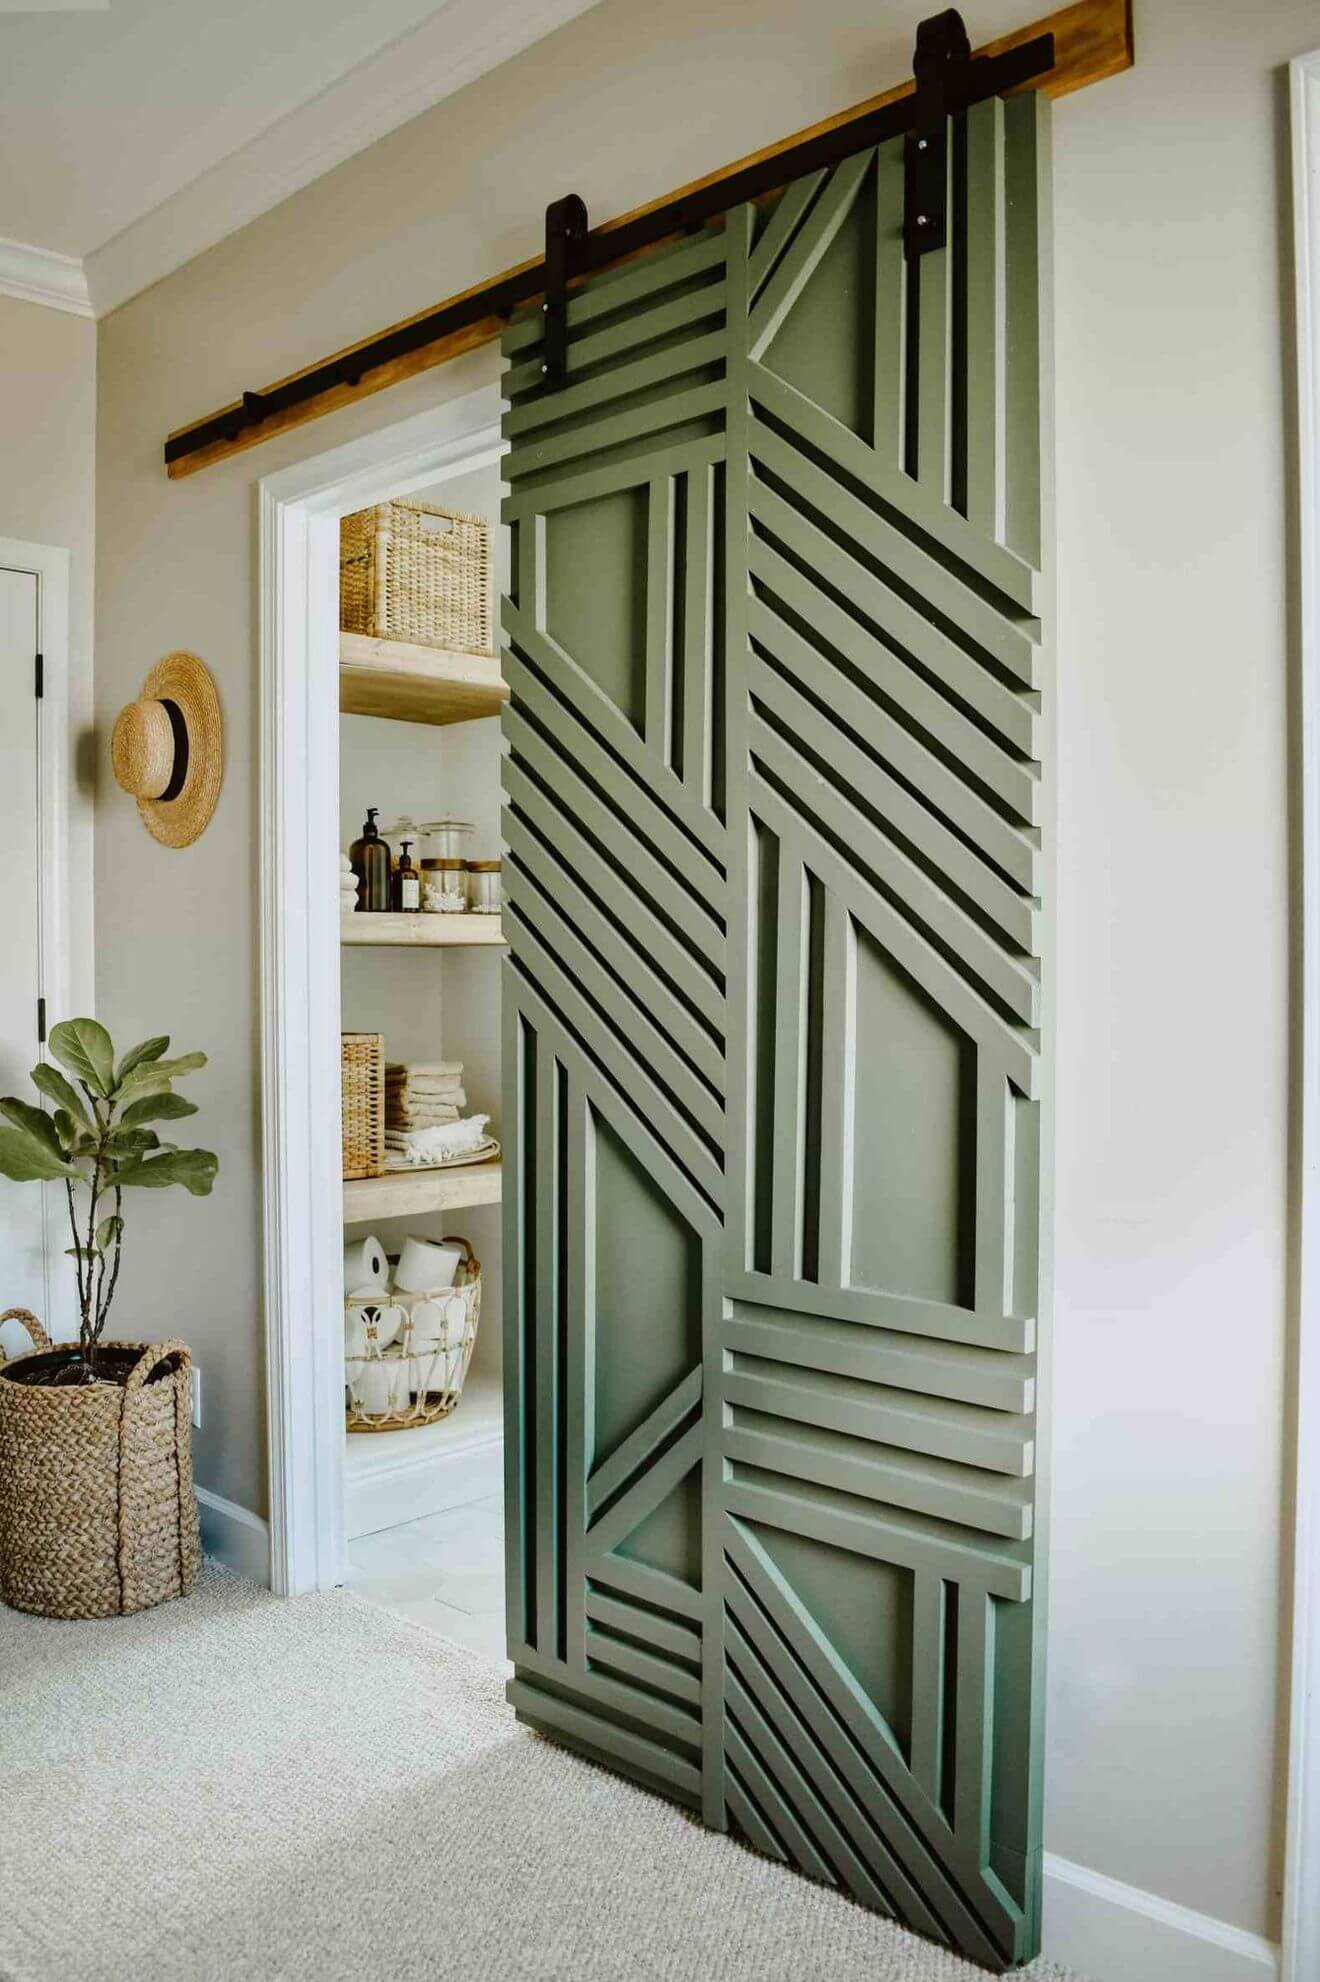
We tend to overlook their finish, yet doors also influence the aesthetics of a room. They can even become tangible decorative assets if you decide to treat them as such. The wooden cleats precisely make it possible to revisit the doors with a relief, which changes from the standard stroke of colored paint. The battens make up a graphic design on the opening, playing with perpendicular lines, parallels and diagonals. Once screwed or welded with a suitable glue, these pieces of wood and the base surface should be repainted to obtain a plain door.
2- When cleats become decorative railings
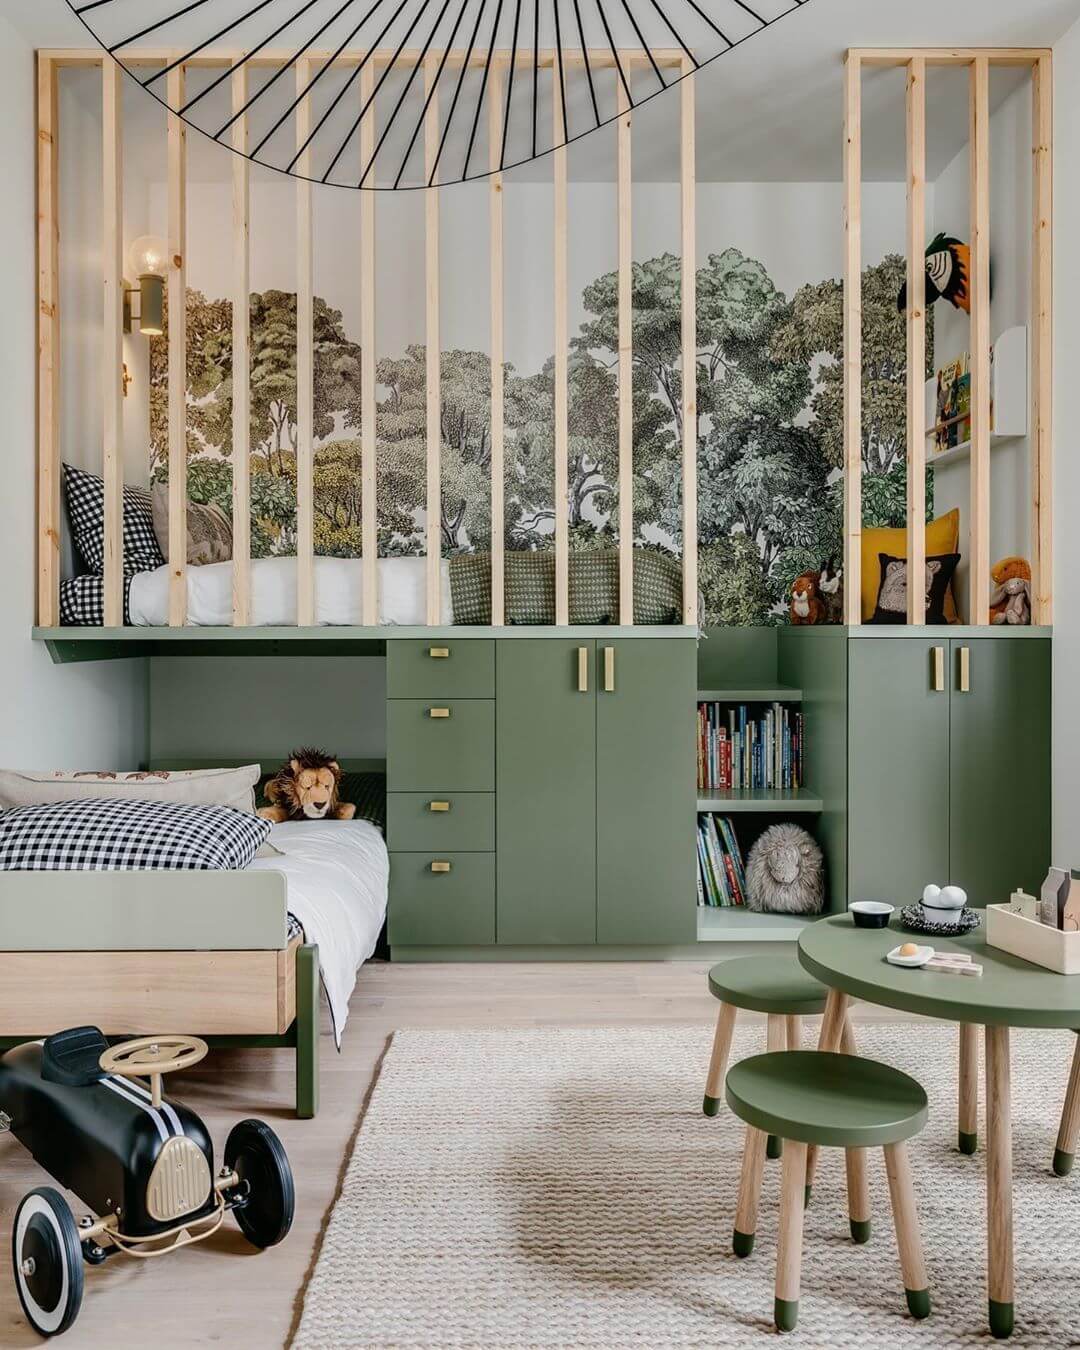
Our homes’ ever more limited square meters encourage us to be ingenious. The challenge is all the more difficult in children’s rooms, where you have to combine sleeping with a play area, a desk, or even a second sleeping area when another baby is coming around. Raising the bed children by a few centimeters saves precious square meters… but you still have to think about the railing. Easy to install, wooden cleats are a tailor-made and economical solution for this scenario. Create a filter with cleats, cut to the right length to protect the bed from falls. So the room gains in safety and style in just a few hours.
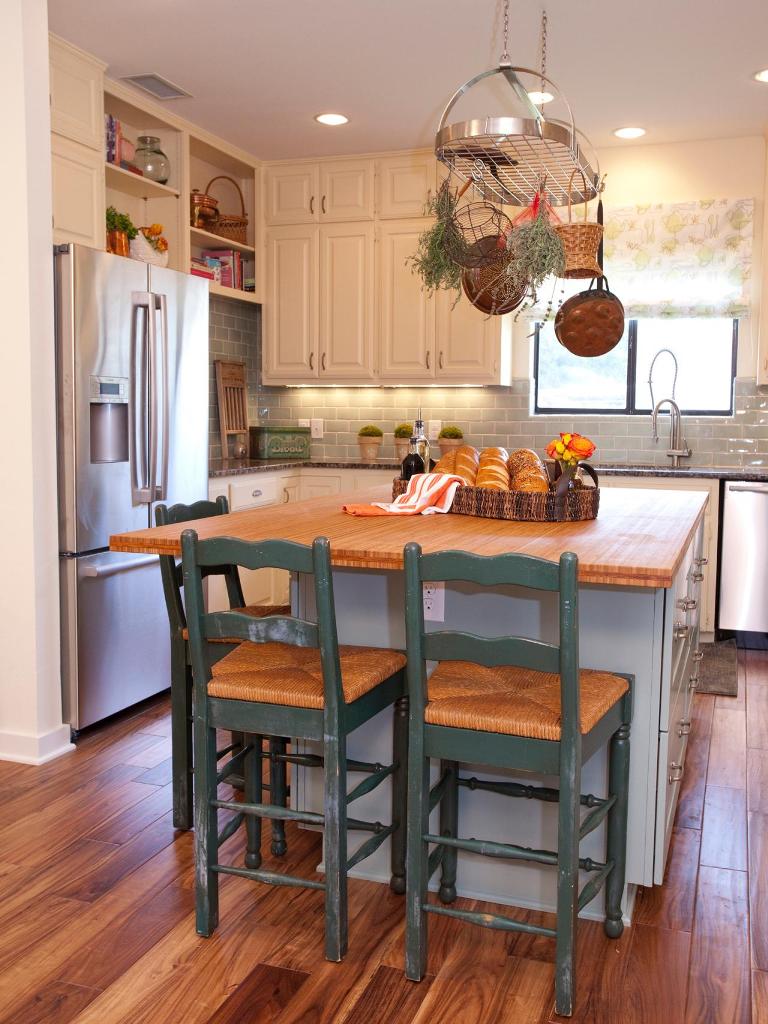
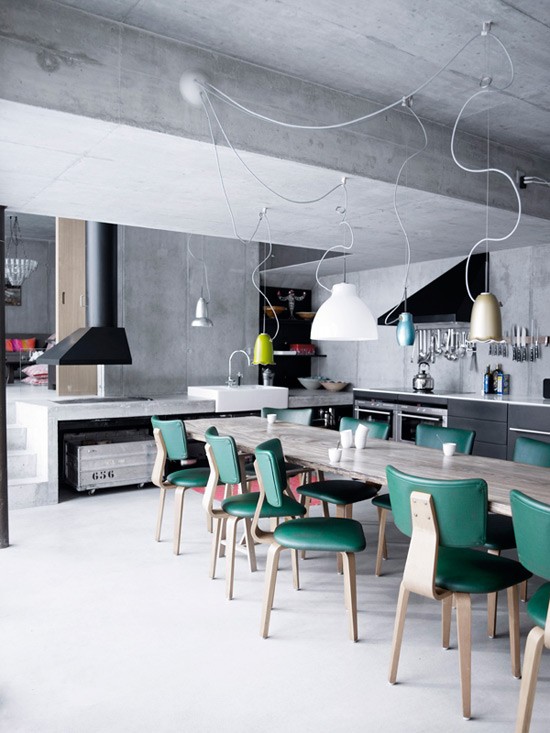
3- Cleats draw a designer bench
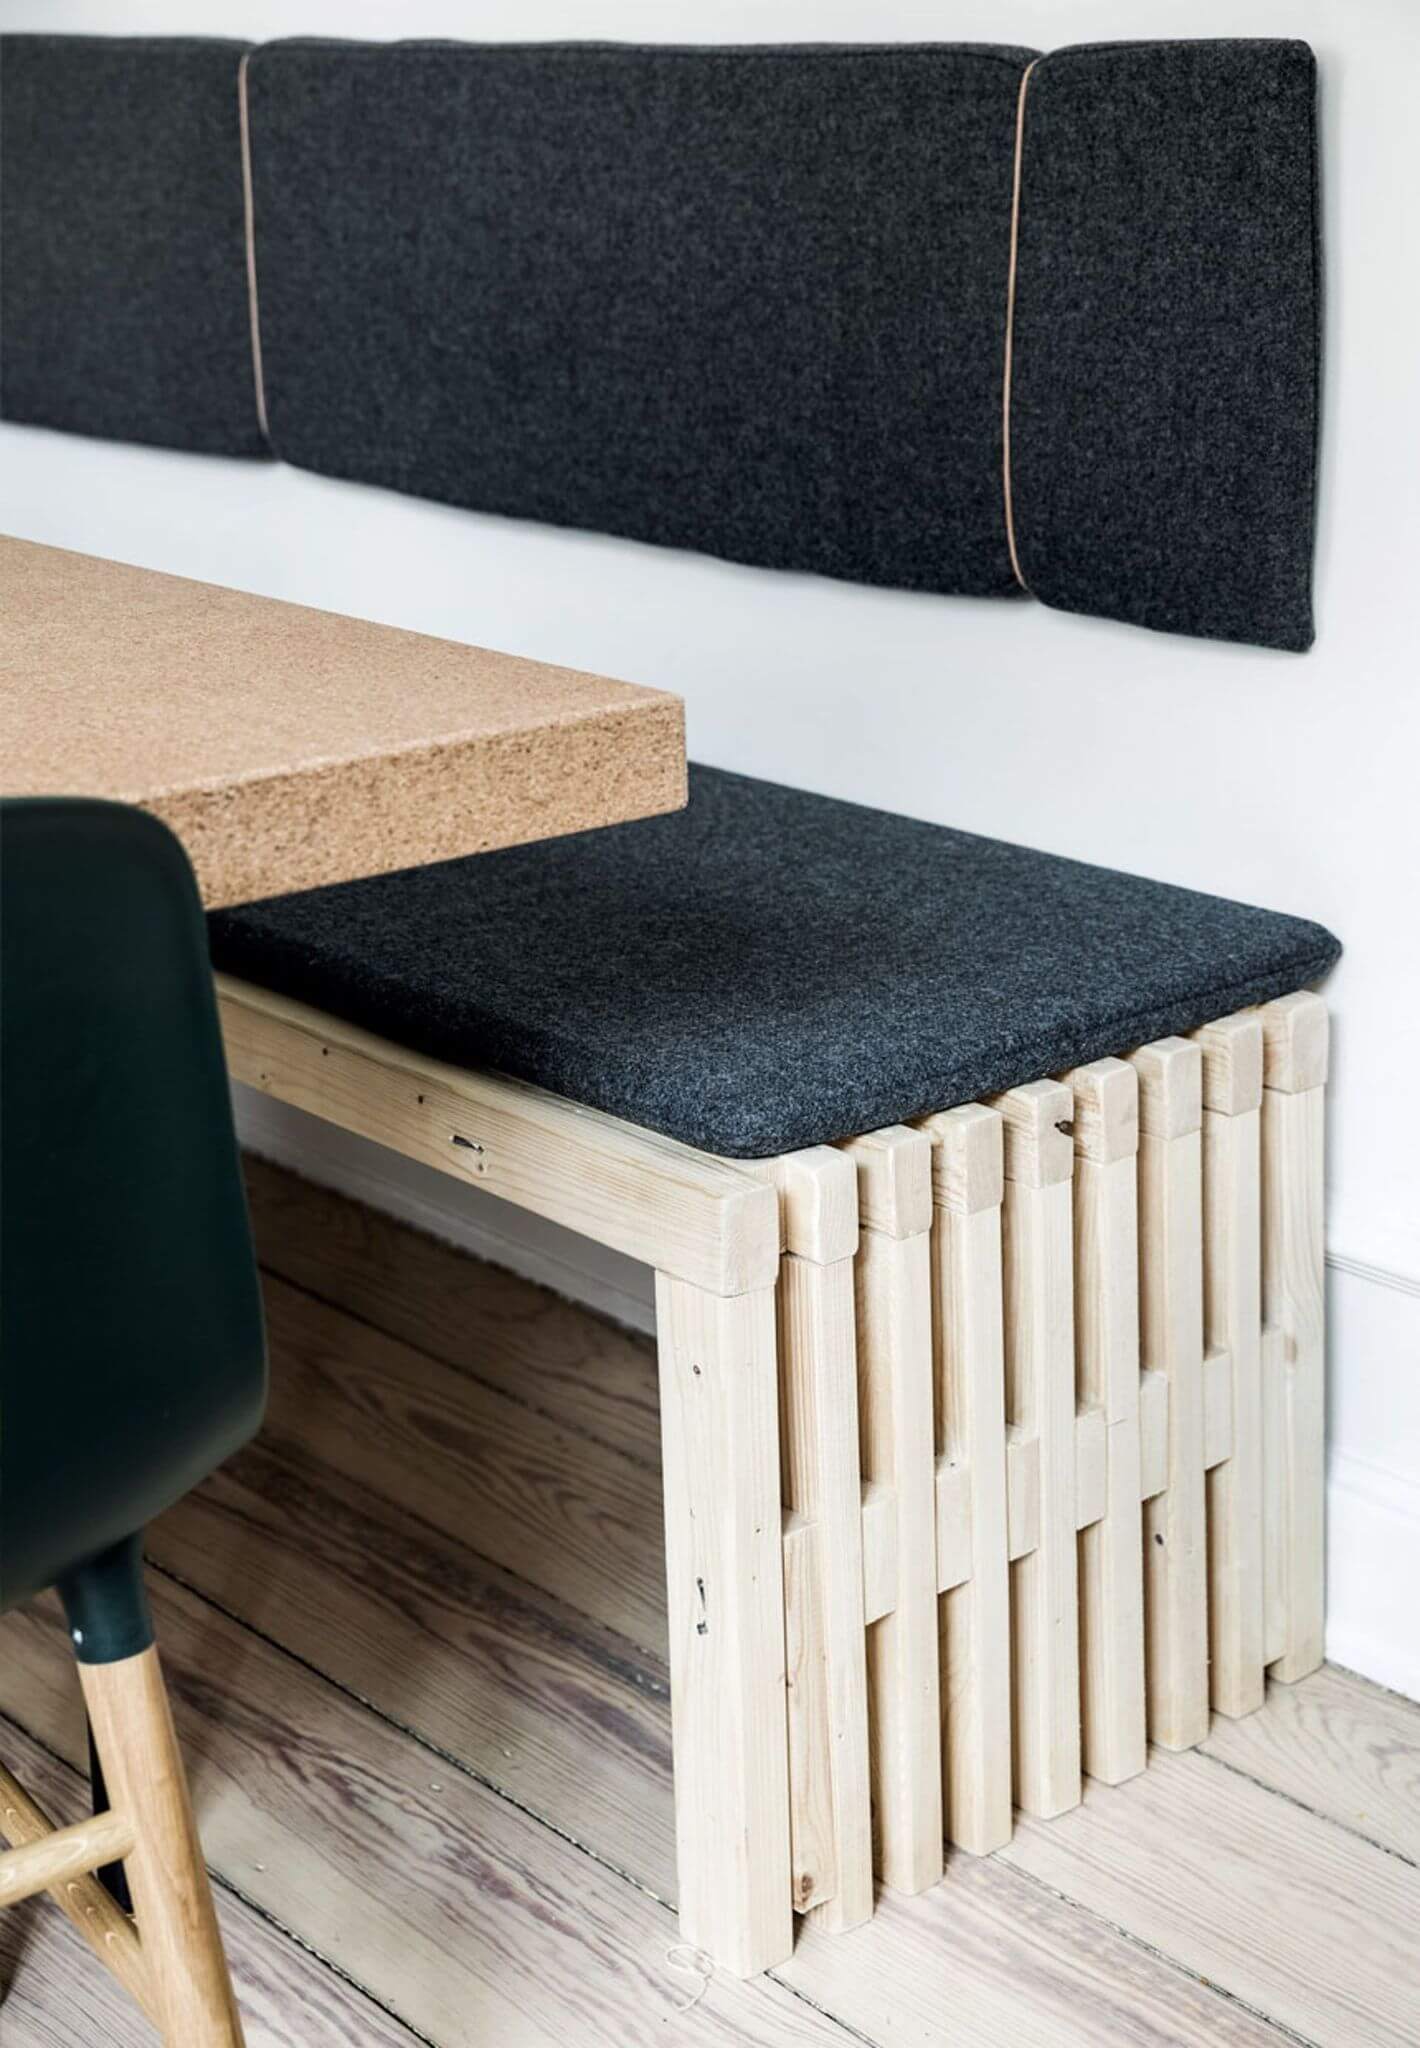
Imagining your dining room bench is much less complicated than it seems. The wooden cleats are strong enough to support the weight of several people (provided you choose slats with a minimum thickness of 40 mm) and can therefore be used for this purpose. It takes about twenty rectangular cleats to build the legs and the surface of the bench, but also to weld them together correctly. Sand, each piece, is essential once they have been cut out, primarily if the seat obtained is not intended to be painted. However, a coat of varnish is recommended once the bench is finished to protect the wood from the vagaries of everyday life.
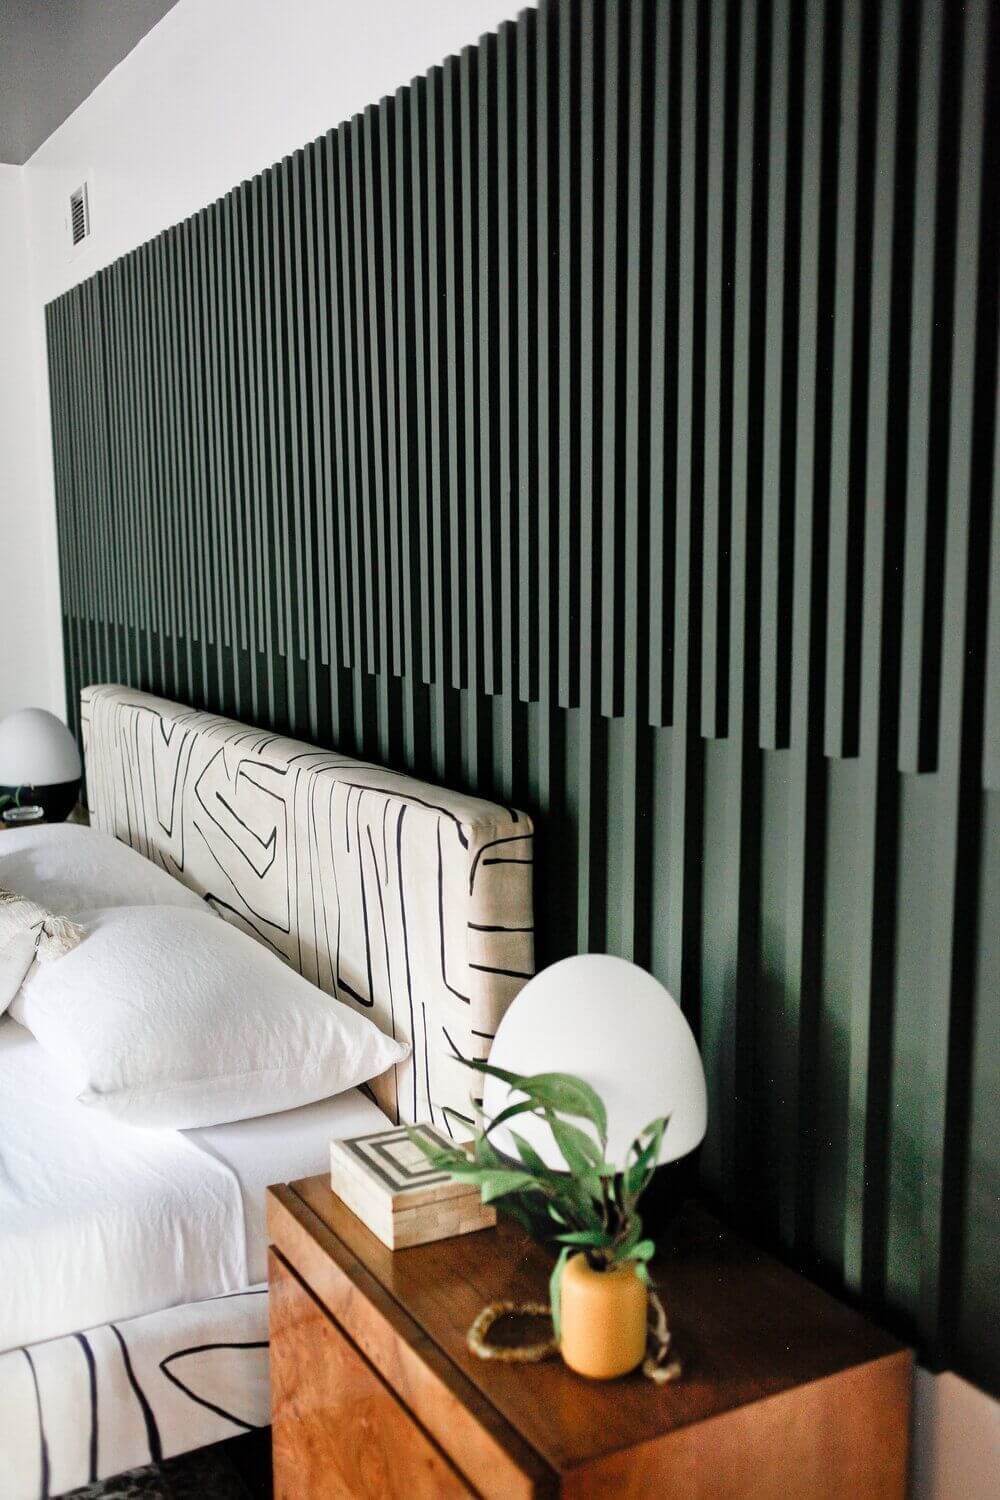
4- A few wooden slats for a slow headboard
As it allows the bedding to be seated within a volume, the headboard can quickly become essential to the bedroom’s atmosphere. But all you need is a few wooden slats to compose a slow version and inexpensive. The number of cleats varies according to the height desired for the future frame and the dimensions of the bed, which may deviate from the standards. Once cut to the correct length, all the pieces should be welded using five or six vertical cleats. The headboard can be screwed against the wall or slid behind the bed if it is strong enough – so tenants can personalize their room without drilling the partitions.
5- A canopy structure in cleats
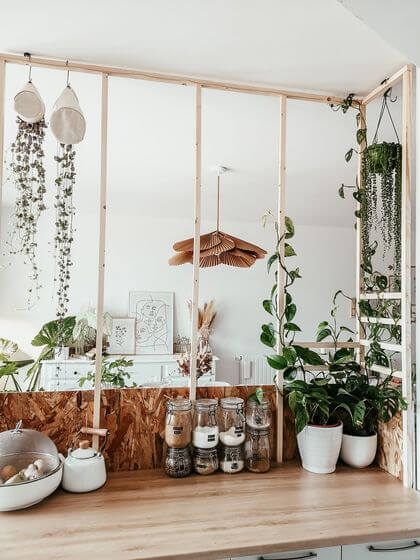
Having become essential in interior architecture, canopies make us dream with their graphic silhouette that animates any space. But now, the consequent price of custom models can hinder the installation of this kind of partition. The simplest solution is perhaps to make it yourself by giving up glass, which represents the most significant part of the budget. It is possible to find the canopy’s spirit simply with a homemade wooden structure. Flavie Peartree from the eponymous blog recommends using square cleats to make the frame and screwing them together according to the desired design (the opportunity to add crosspieces for a more personalized result).
6- An entirely homemade wooden cloister
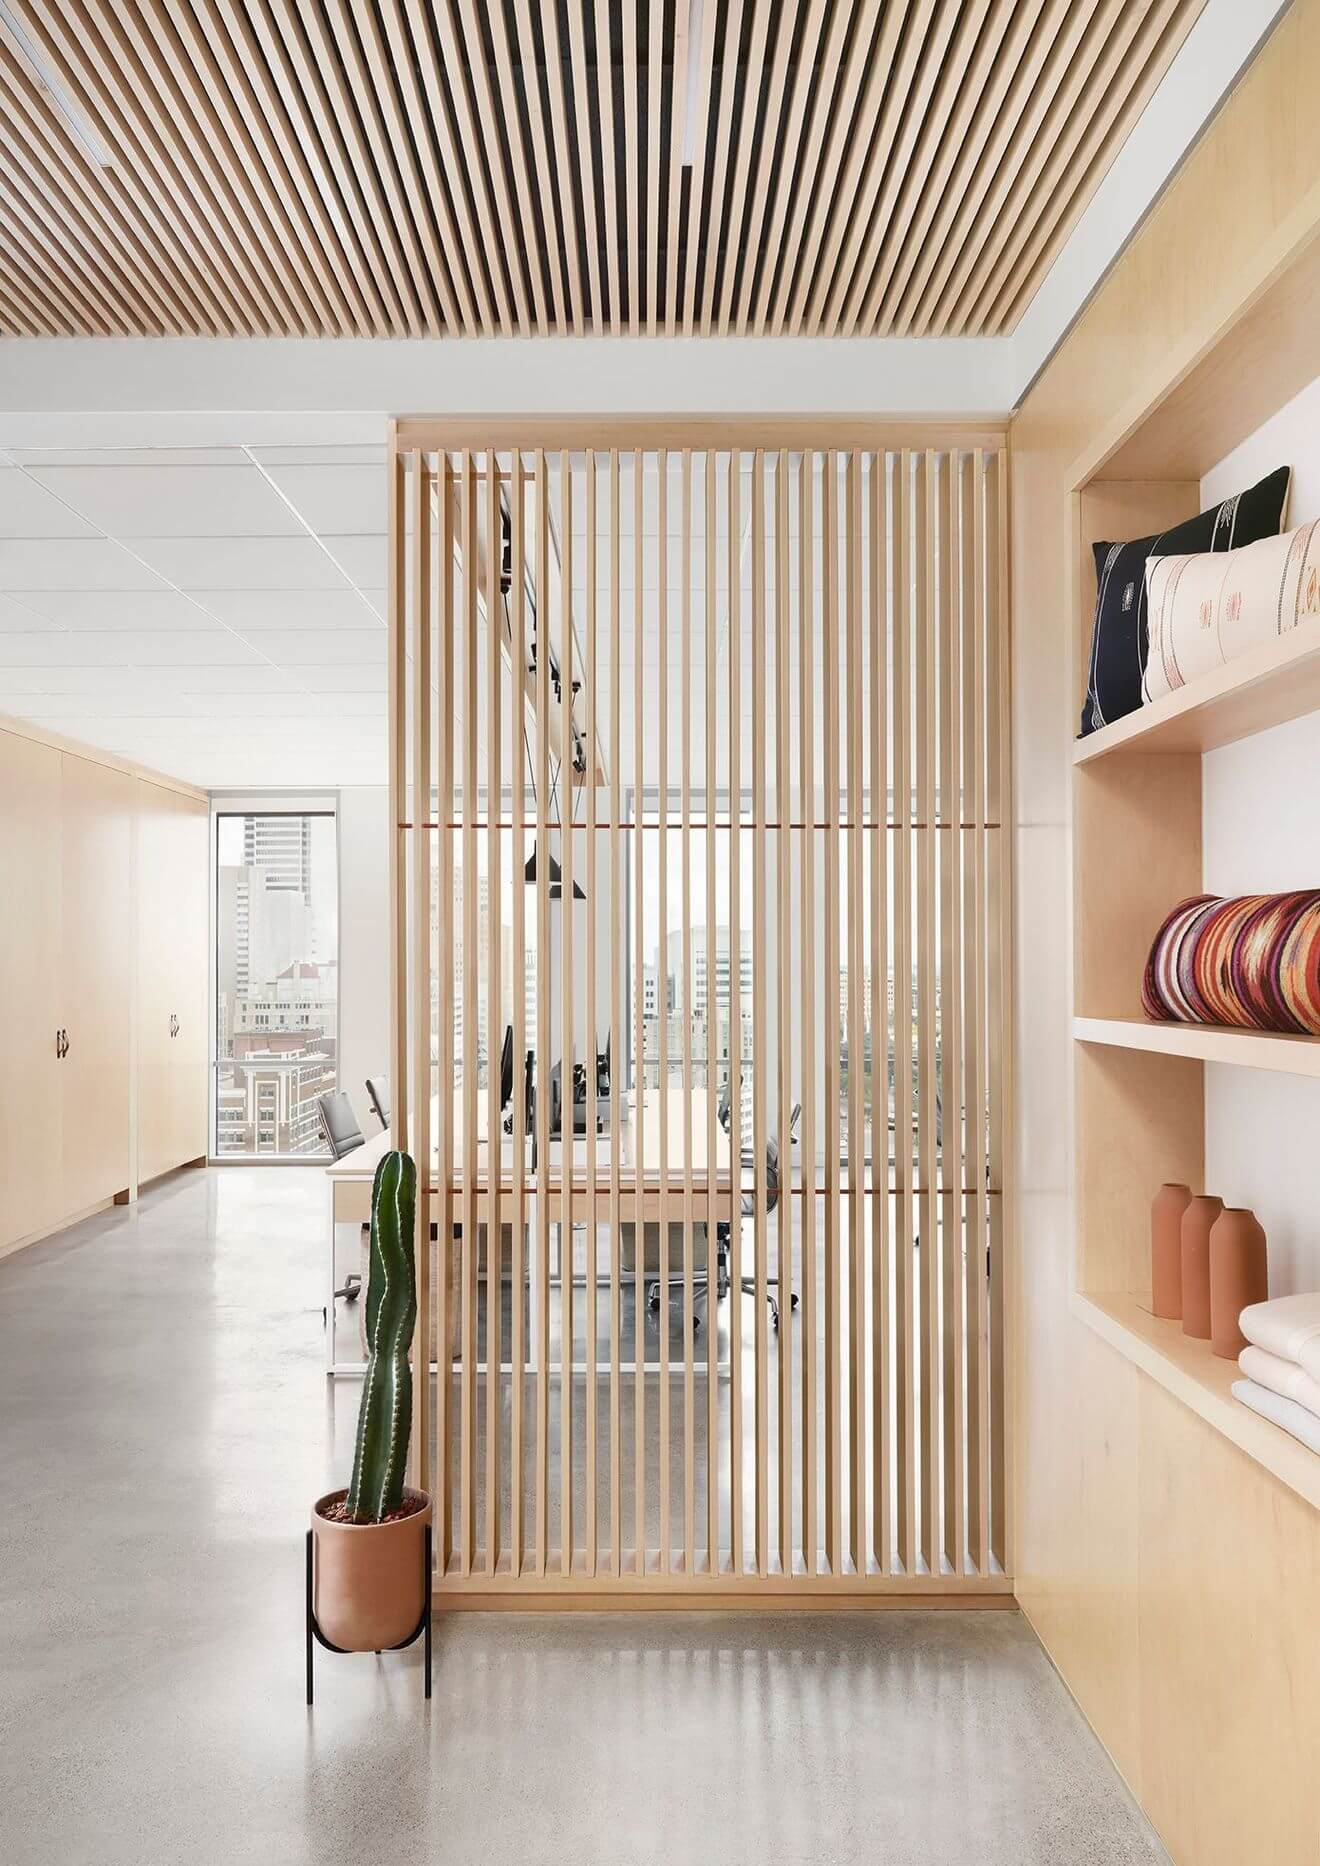
The cleats have significantly benefited from the cloister trend to infiltrate the decoration of our interiors. The perforated partitions are entirely made with wooden slats, which slightly obscure the view. Starting with the frame is essential for a successful homemade version. It is only once the basic rectangle has been assembled, using four cleats and a screwdriver drill, that it is possible to draw marks. They make it possible to obtain a regular spacing between elements and avoid overloading the future partition with superficial slats. The filter obtained can be varnished to preserve the natural appearance of the wood before being placed between two areas.
7- The battens give relief to the partitions
Working with battens is a great way to enhance the architecture of a more classic room. These pieces of wood, chosen more or less thick according to the desired effect, bring the relief that is lacking in the partitions by creating a facing. Discipline is essential to complete such an ambitious DIY project – the preliminary measurements, cutting, and installation must be exact, or the result may lack elegance. The most important thing is to respect the same spacing between each cleat. Paint all these pieces of wood with the same color as the background wall, then perfects the illusion.
8- A perforated wooden casing for the radiators
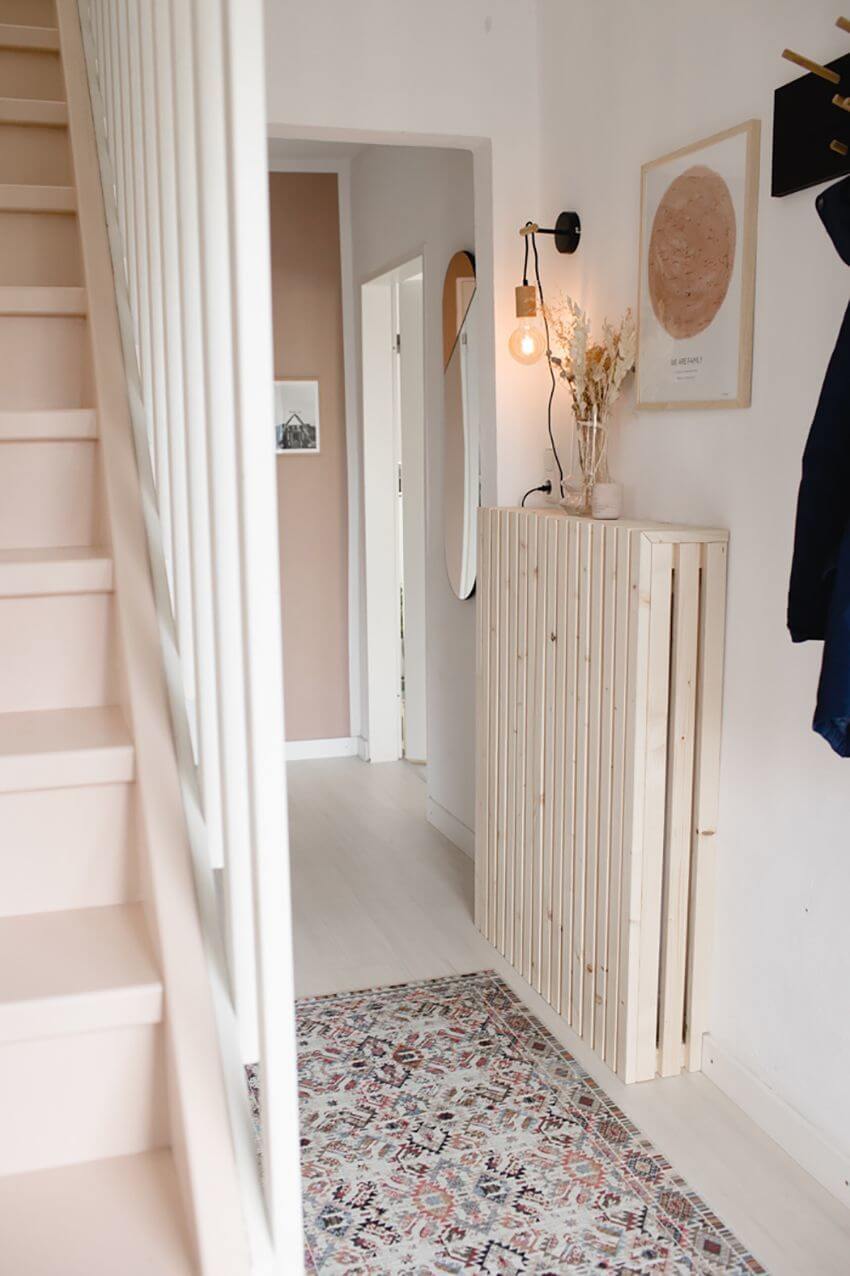
Many of us face the same problem: the lack of elegance of the radiators. Although essential, they tend to serve the atmosphere of our homes, and unless you invest in designer models, the only solution is to hide them. The cleats allow us to create a nice formwork, which does not risk hindering the radiator’s performance once installed. The basic structure must be keyed to the device’s dimensions, taking care to leave a few millimeters of beating. The other cleats make camouflage the heating by forming an openwork formwork.
9- Modular spirit for the home coffee table

Thanks to their openwork appearance, the wooden battens allow you to give rhythm to specific everyday furniture, as evidenced by this elegant coffee table imagined by the founders of the Mamie Boude studio. The base is none other than a large cube, made with poplar planks mounted on wheels to move the table within the living room quickly. In the second step, the cleats come into play to dress the formwork without completely concealing the interior. The perforated top must be made independently, with cleats, cut to the correct dimensions, and screwed together. Rods glued inside the cube as stops allow the cleats to be placed.
10- Create a base yourself
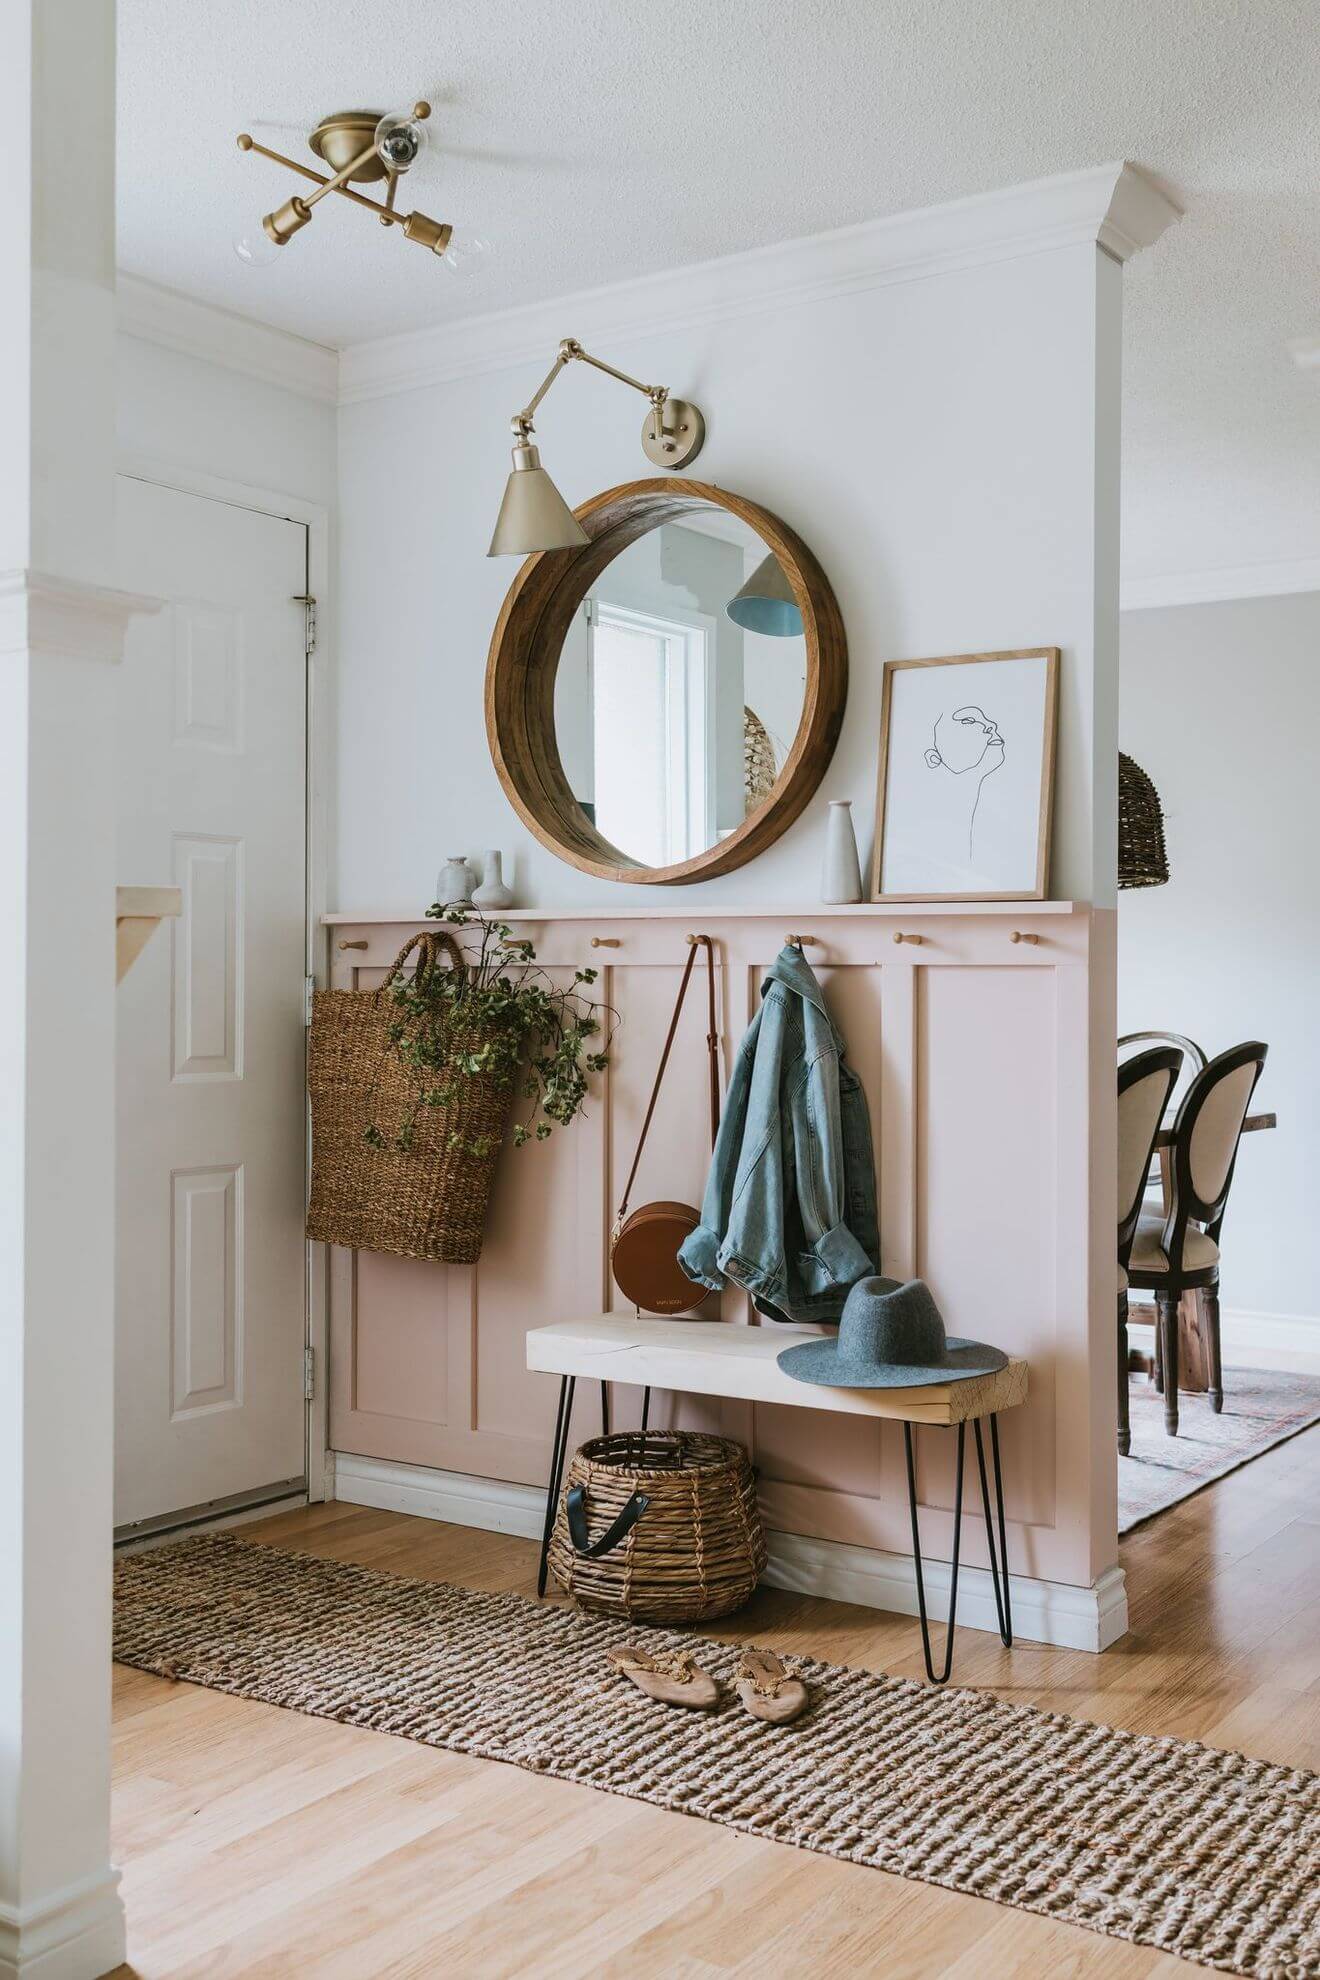
The cleats are also very useful to enhance the profile of walls that sometimes lack style. A plinth can be made simpler with a few pieces of wood and some paint – and of course, a little elbow grease. The width of the cleats must be chosen according to the dimensions of the wall concerned. If it is all in length, it is better to avoid too thin strips, which will reduce the volume, and vice versa. Each part can be screwed to the partition, but this option implies filling the holes in a second step with a suitable plug or wood putty. The painting is only applied once the facing has been laid and the spots have been perfectly smoothed.
11- Make a minimalist wall shelf
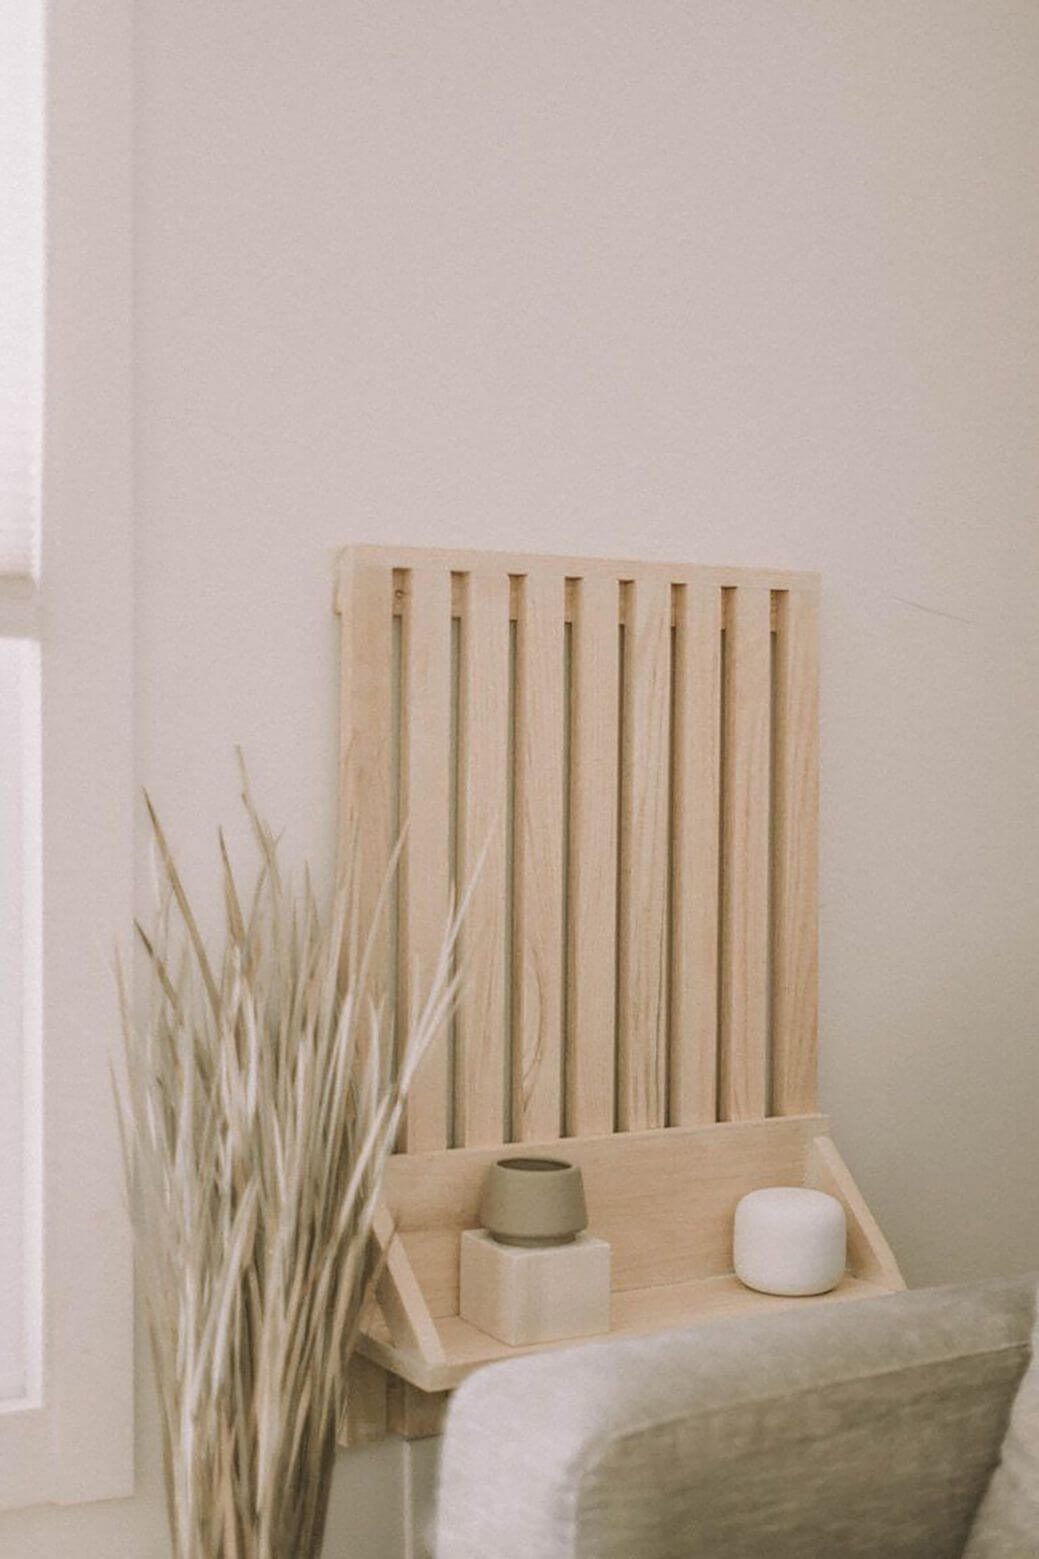
Wooden cleats lend themselves to many experiments and can even replace traditional shelves in a house. The first step is to create a reference frame with several slats of the same length – especially since a small strip at the top is enough to finalize the look of the support. The grooves formed by the cleats allow you to hang many objects, such as shelves or hooks, like the wall systems sold commercially. The slats can be reused as picture rails to display small trinkets. However, pine or beech boards are necessary to create a wider display shelf.
12- Wooden slats dress up the cupboard doors
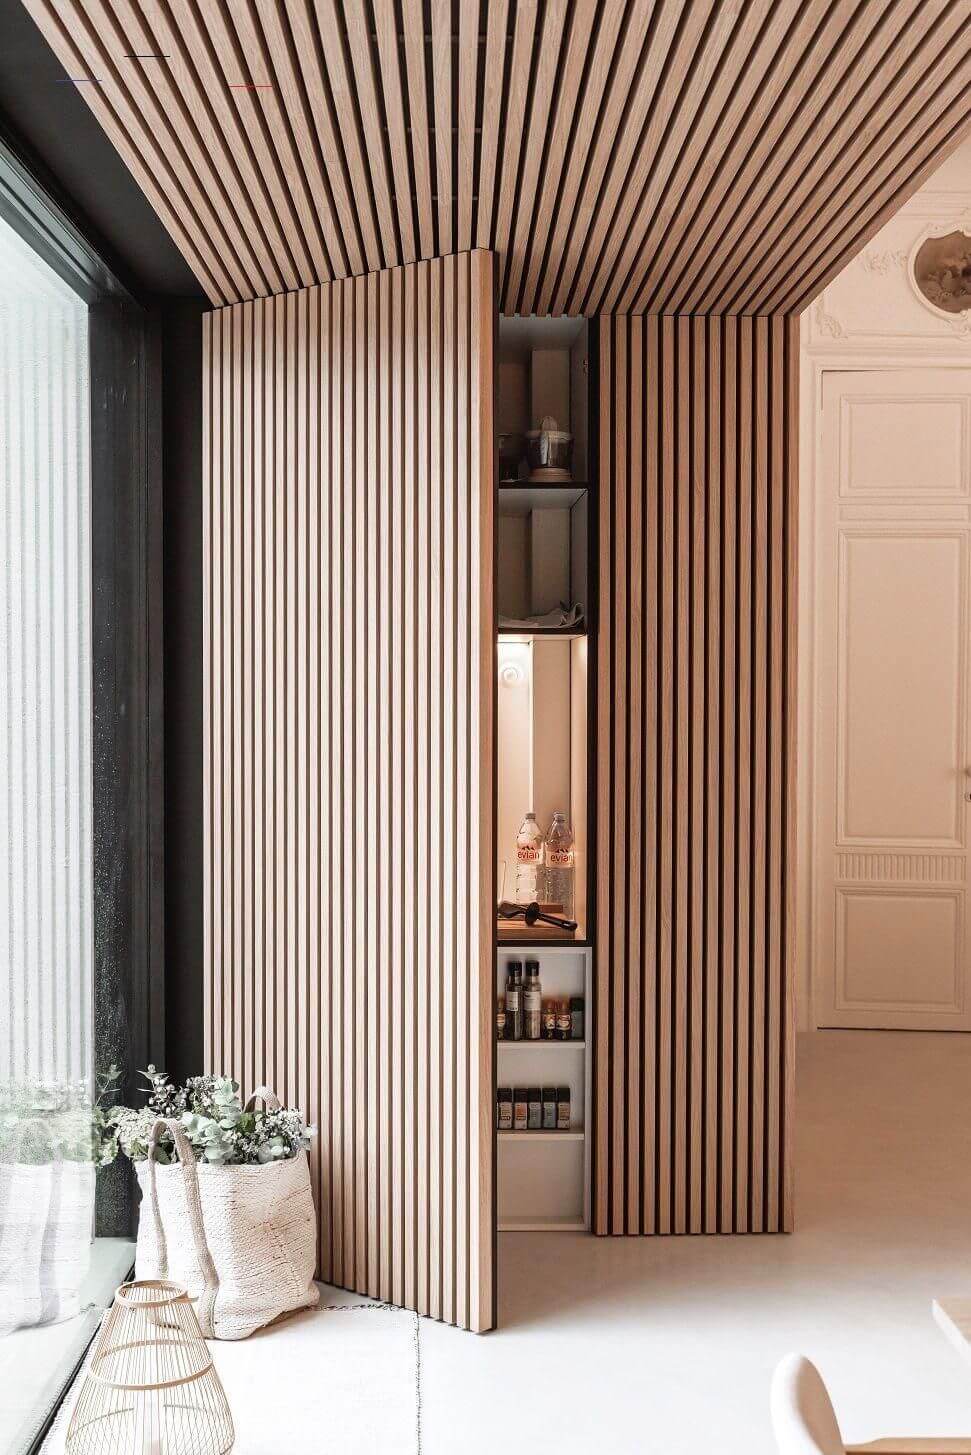
Taking care of the cupboard doors may seem excessive at first glance; however, it is an excellent way to transform these utilities into decorative objects, as demonstrated by the many achievements of architects. The cleats are alternatives that allow you to customize these storage units without having to be made to measure. The principle is simple since it suffices to cover the flat surface of the door with these pieces of wood and possibly to paint them in the desired color. The result can even be stunning if the adjoining walls adopt the same homemade facing: for example, the cupboard blends in entirely with the room’s design.
13- A compact console made with cleats
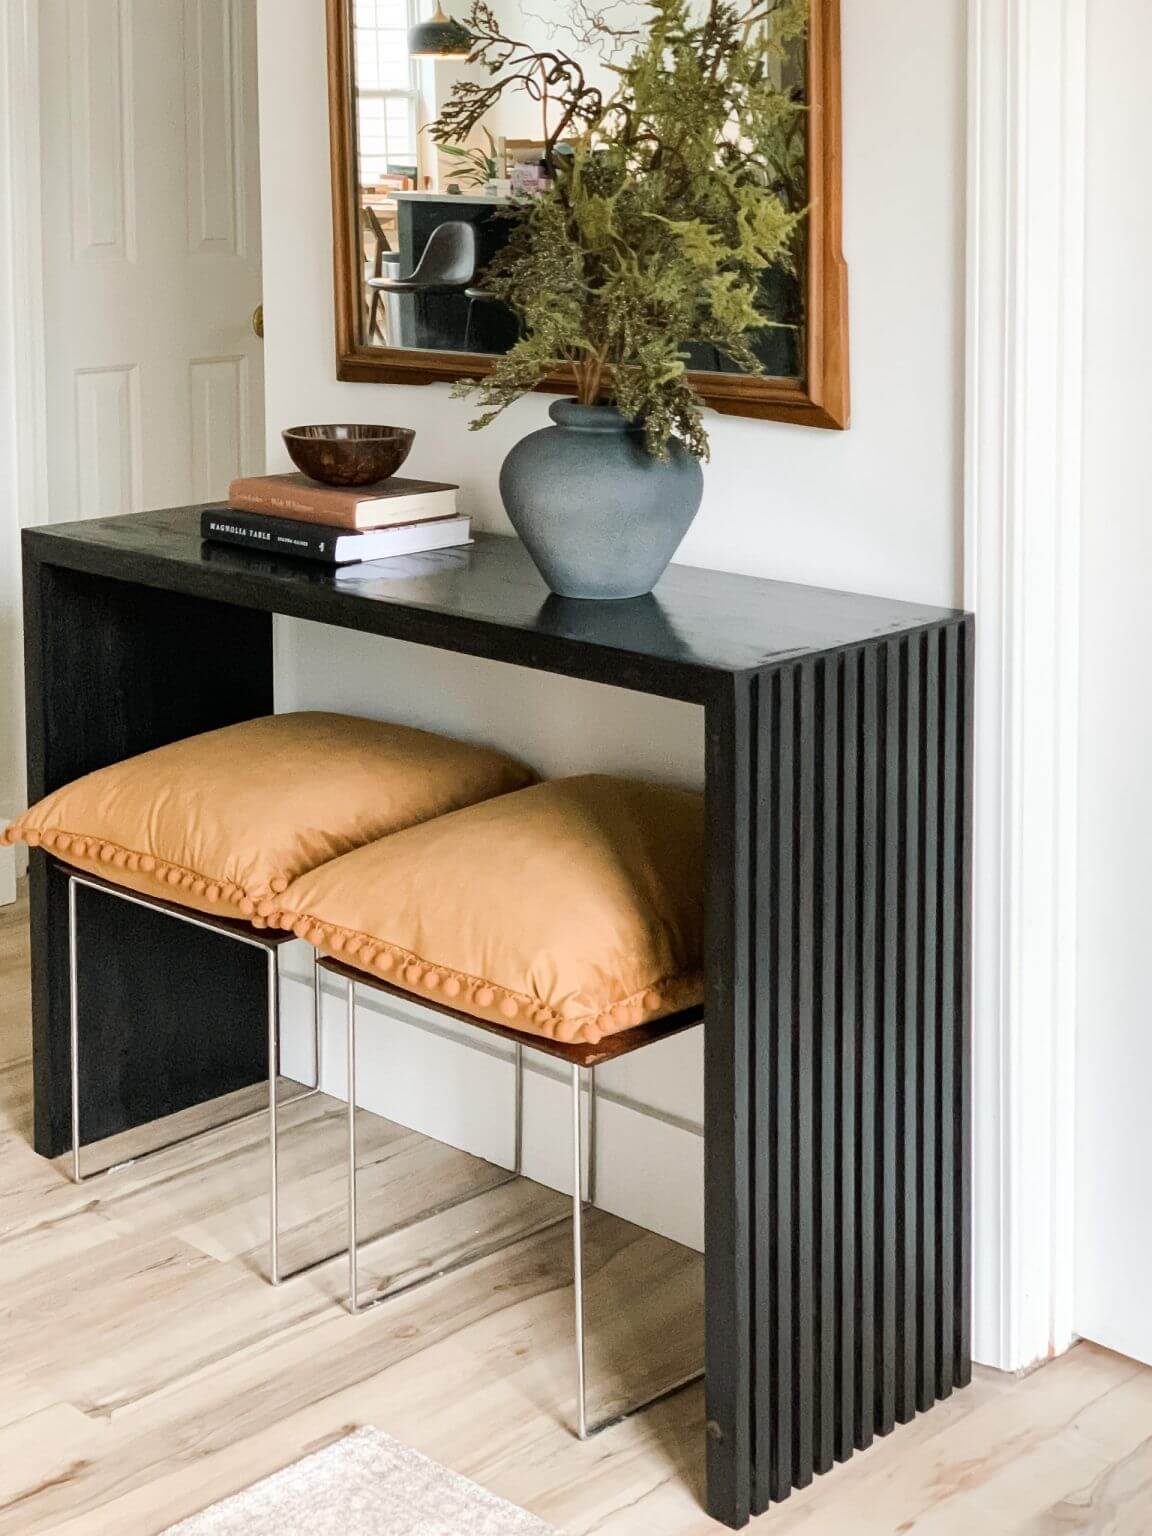
It is not always easy to find the right piece of furniture for the proportions of your entrance. It should not infringe on circulation or overload the atmosphere with its dimensions. The easiest way is undoubtedly to make it at home, with some scrap wood and slats. If the top chosen is dense, these can be used as a base, alone, or reinforced with a plywood plate. Therefore, the structure is straightforward to assemble if you know how to handle a saw and a drill driver. But it is also possible to customize a commercial console with cleats glued directly to the sides.
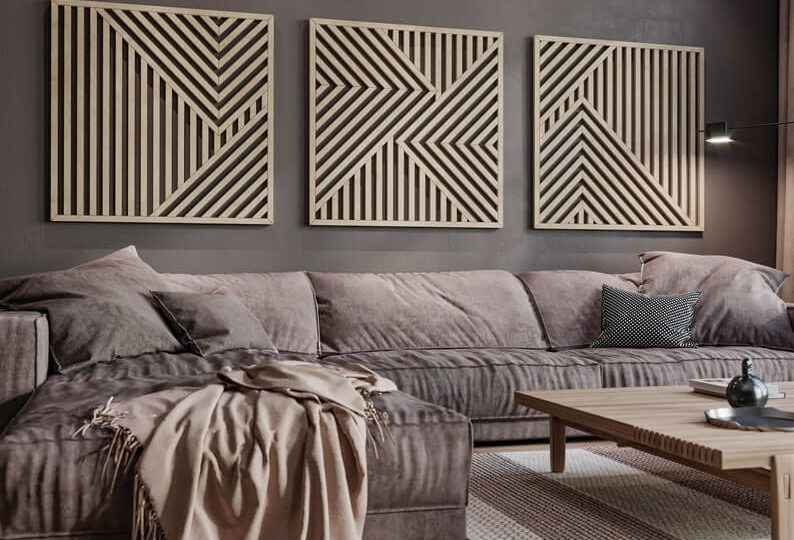
14- A touch of arty wood on the walls
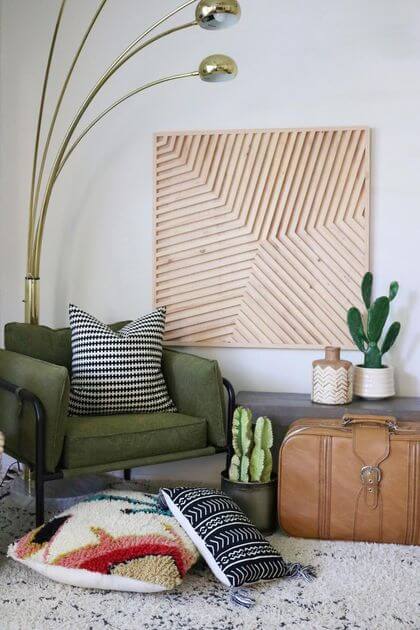
After a few DIY sessions, it’s not uncommon to end up with small cleats on the arms (most often, these are remnants of wedges created for shelves). Instead of throwing away these scraps of wood, it may be a good idea to set them aside until you have enough pieces to create a wall decoration. Letting your imagination run wild is essential in this DIY. Special wood glue is used to stick the cleats on a board and to sketch a more or less graphic design. The piece of art obtained can be kept raw or covered with a light stain before finding its place in the house, for example, above a sofa.